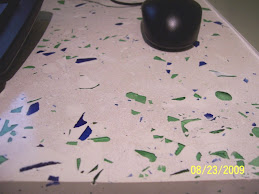
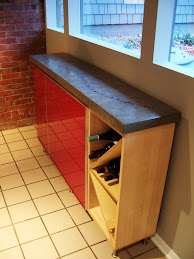
Now that the surface is flat, it will get ground through 400 grit before filling. I will wait a couple days before flipping it over and grinding the bottom.


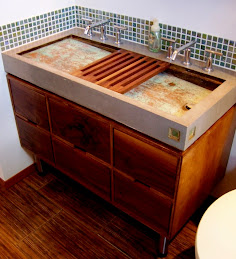
 After a few more cans of spray foam and sanding, the shape was pretty close. This reminds me of building the molds for concrete canoes, although on a much smaller scale. The bottom square is the 3" mounting base. Then the table underside tapers from 2 inches thick in the middle to 1 inch at the edge. Since the foam is hard to get real smooth and with a short time frame to get this done, I lined the mold with plastic. It will either 1. look cool, or 2. need a bunch of grinding to smooth the bottom side.
 I am using spray foam to create the taper. It gets sprayed, struck off, and then sanded smooth.


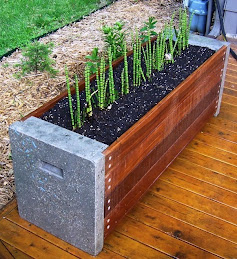
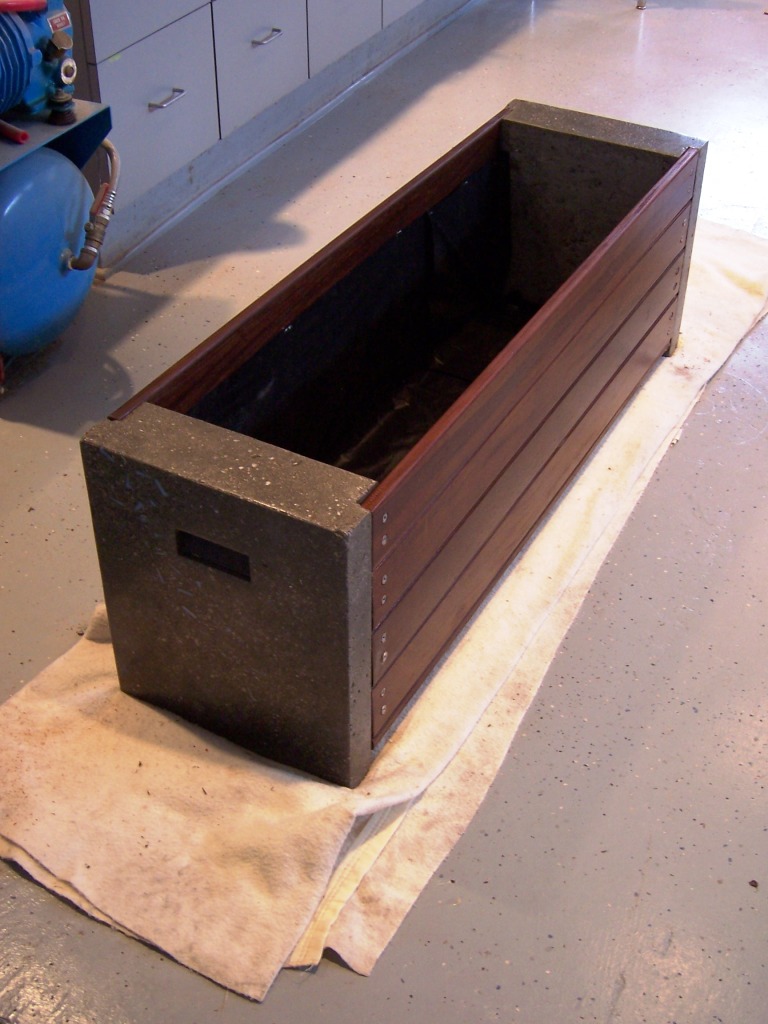 Cutout detail for mounting the wood.


 The glass tile pieces after grinding.
 They got sealed with the soy epoxy I used on the fiber optic buffet top. It is semi-penetrating and provides a nice wet look. The triangle-shaped holes are handles.
 The mix was a quikrete 5000 base with 50% latex modifier. I used water reducer to bring the w/c to 0.4. It also had some fibers and a little bit of black pigment to make it a little darker. Here is my simple setup, complete with the bathroom scale and cat litter buckets.
 I use two types of fibers. The left is a fibrillated (think fish net) polypropylene. The right is a cellulose fiber let over from making furnace filters and dusters. The little packets break up into individual fibers. Since I don't use any reinforcing steel, these will keep any cracks small. These planters won't ever be in tension so I probably don't need any fibers.
 With the high range water reducer the concrete has the consistency of stiff honey. A little hand vibration and it flows. It needed to be flowable to get under the mounting lip for the wood boards.