Showing posts with label concrete countertop. Show all posts

Wednesday, November 5, 2014

2323 Project - Part 3 Finishing

Hey, I can see the light at the end of the tunnel on this project. Of the ten total pieces for the job, seven have been installed and three need to be placed.
If you haven't tried lithium silicate densifier, get a gallon and give it a shot. It basically increases the degree of hydration at the surface to make the concrete harder and less porous. I've used these on pavements for a number of years, but when you actually put it on by hand you can feel the concrete tightening up. I have been doing two applications at 50% strength, letting it sit for a day, and then two applications at full strength. They tend to slightly darken the surface which helps bring out the color.
 
I haven't been forming holes for faucet on these. I think it is easier to cut cut them in later. I bought a cheap diamond hole saw set at Harbor Freight for like $10 which works well enough.  

 
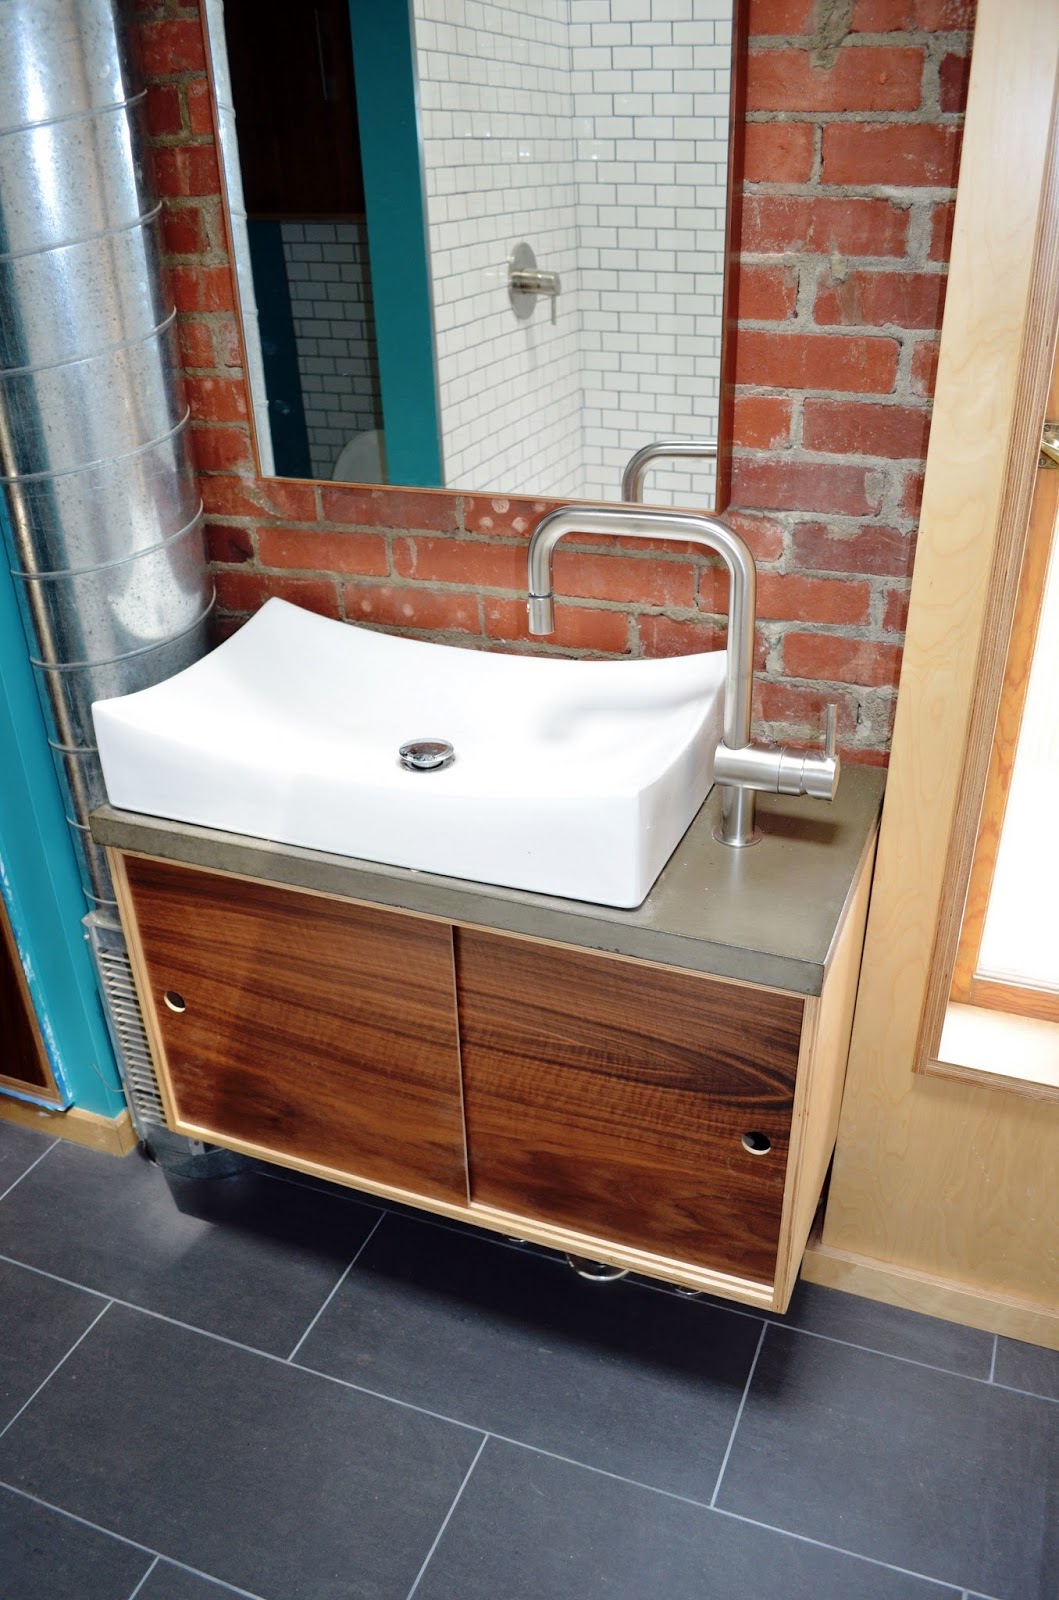
A few installed and the sink getting siliconed to the bottom. 

The bathroom sinks are a basin that just sits on top.

 
After applying the densifier I then have been applying a few coats of silane. I have been playing around with application techniques for the silane water proofer. This is after cutting it with some water and buffing lightly with a mild abrasive pad. 

Tuesday, October 14, 2014

2323 Project Part 2 - Placing

Well like usual scope creep has reared it's ugly head. Well since this is my project and money I guess that is ok. This project has now gone from six pieces in the kitchen to include some vanities a shower box and an integral window box.
I've seen some guys recently cover the melamine edges with painter's tape and am giving it a try. So far it seems to help with cleanup some and probably prevents some swelling.  
 
The first two pieces were a large plain countertop and the sink section. The mix is my el-cheapo  ($5.5/sf) GFRC mix with some Cheng integral color.
 
They were stripped after 2 days and lightly wet-ground. There were only a couple bug holes and prep was very minimal. The cell phone didn't take too good of pictures of the ground texture and I will have to remember to bring the real camera along next time.
The next step for these is burnishing and sealing. When GFRC works well it is unbelievable how little work is involved after placing. 

Wednesday, October 9, 2013

That's One Big Sink

The latest Studio Build project is wrapping up and that included installing a few small, and one very big, concrete items. It seems everything but the kitchen countertops are concrete. The fireplace surround is GFRC polished through 3000 grit and coated with beeswax. The bathroom countertops were lightly ground and sealed. The big piece was an eight and a half foot long integral sink in the master bath. It is also GFRC. This is a perfect example of where GFRC is far superior to conventional mixes. If we did this conventionally it would have weighed about 500 lbs. Since we did GFRC it only weighed 240 lbs. My biceps are still sore from carrying this in, but a 50% weight and material savings makes it manageable. It's charcoal grey and was coated with the Richard James sealer kit.

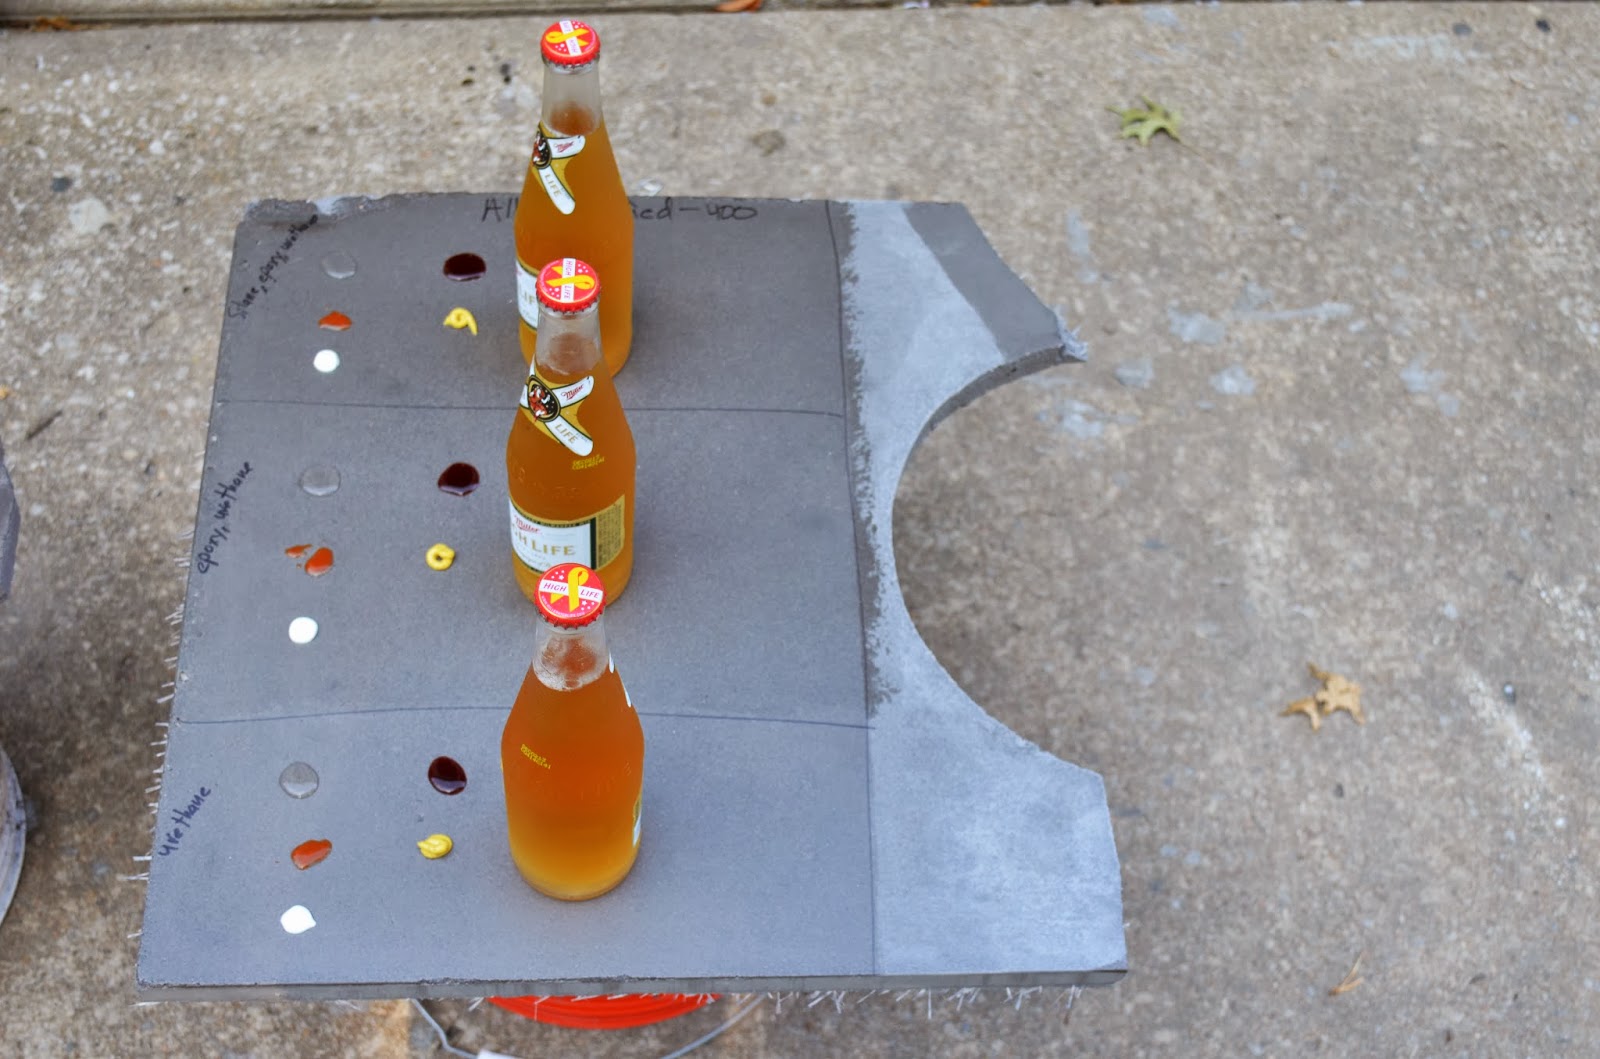
Recently I performed another sealer roundup using some scrap pieces lying around. It gives me an excuse to break out the beers on a Saturday morning. My standard test materials are vinegar, hot sauce, toothpaste, red wine, mustard, and an icy cold beer for a sweat stain. I was very impressed with the performance of the Richard James silane, epoxy, urethane combination. I normally densify the surface using a lithium silicate, which makes this a four step process. That is a lot more effort and cost than the traditional acrylic, but the results are worth it. None of these liquids had any effect on the surface. 
 
The very dark section was beeswax applied to a highly polished surface. It looks very cool and is a great color enhancer, however beeswax doesn't provide much protection against acid attack and requires constant recoating.


Sunday, May 19, 2013

Buffon Residence: Final Installation Photos

The Buffon residence is cleaned up for appraisal so I took the opportunity to grab some finished pictures. The entire project consisted of twelve sections which included one giant 4 ft by 12 ft island.
 
The color is dark grey with a urethane sealer.


Half bath off the kitchen.

Full bath. 

Extra panels used for the color check were cut down for the fireplace surround. 

Tuesday, May 10, 2011

Project S - Phase 1

So the point of Project S is to investigate using a prebagged Type S masonry mortar for a concrete countertop base. This project is moving pretty quickly because I am using the selected mixture for the new grill top. Yesterday I put together a few mixtures and am using 1-day compressive strength asfor iteration.
I am going to be conservative and say 1-day values are 40% of 28-day compressive strength. Mixture variables were water-to-cement ratio and latex addition rate, things easily purchased or modified for the home do it yourselfer.
Mixture S1.0 - Standard mortar mixed per manufacturer's recommendations. That is 1/5 gallons of water per 80lb bag, resulting in a water-to-cement ratio of 0.79. This was a very workable mixture.
Mixture S1.1 - Same as above but with 1:1 water to latex. Latex bonding agent, this was Sika Latex R from Home Depot, adds tensile strength, reduces permeability, and reduces efflorescence in high lime mixtures such as mortar and block mixes. Slightly less workability but much less efflorescence.
Mixture S1.2- Same as above but only using latex. Low cost latex bonding agent sold at home improvement stores is about 7% solids/93% water. Although I didn't adjust for this, with equal parts latex replacement the water to cement ratio will drop a little.
Mixture S2.0 - Standard mortar mixture but with water dosed for a 0.60 water-to-cement ratio. This is equivalent to 1 gallon and 20 oz per bag of mortar. This was probably too stiff for a good countertop mixture.
Mixture S2.1 - Same as above with1:1 latex to water. This was even stiffer.
Mixture S3.0 - Standard mortar mixture but with water dosed for a 0.42 water-to-cement ratio. There was no way to achieve this naturally, so I used a high range water reducer. I know it isn't available, but it was a let's just see situation. This was a very workable mixture.
Mixture S3.1 - Same as above with 1:1 latex to water. This was a very workable mixture.
Results:
S1.0 - 1082 psi 1 day, 2705 psi estimate at 28-days.
S1.1 - 775 psi, 1937 psi
S1.2 - 818 psi, 2045 psi
S2.0 - 1824 psi, 4559 psi
S2.1 - 1565 psi, 3913 psi
S3.0 - 2378 psi, 5944 psi
S3.1 - 1445 psi, 3613 psi

Latex tends to entrain more air so compressive strength tends to go down. I didn't expect it to go down this much. However, the latex did smell a bit funky and may have gone bad. It previous experience 1:1 latex works well in countertops.
Looking at this data I selected S1.1 as a candidate for full-scale testing. The mix I will be using for the grill top will be hand-mixed in the garage and will take three batches of
1-80lb bag of Type S Mortar ($5.00 each)
1/2 gallon water (freeish)
1/2 gallon latex bonding agent ($12 per gallon= $6.00)
0.13 lb polypropylene fibers ($6.00 per 1.5 lb bag = $0.50, These can be purchased at local specialty concrete supply stores. One bag will go a long way)

So total cost for melamine, caulk, screws, and concrete is around $75.

Wednesday, March 10, 2010

Concrete Planter Project (1. Mold Making)

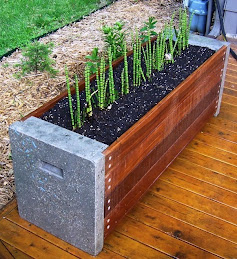
The recent warmer weather has a few projects starting around the house. I am building raised beds for the garden out of ipe wood and have some extra material. I have enough extra to build a couple concrete and ipe planters. Ipe is a very hard, very dense tropical wood that makes great patio furniture.
Mold making for concrete countertops/projects has evolved recently (past 10 years). Cheng started using particle board and laminate then switched to melamine. Every project used fresh mold materials and used lots of drywall screws to keep things from moving. Lately Cheng has switched to foam boards secured with tape. Many other mold builders have switched to foam board and thick vinyl tape for lining the molds. Others have switched to fiberglass or flexible urethane molds. It turns out that most of the older style molds were over-built and wasted too much material. I have built a couple molds lately with little to no screws.
Here is one of the end molds for the concrete planter. It is basically square with knockouts to secure the wood pieces and a handle indentation. Other than a few leftover screws holding together the bottom knockout, there aren't any in this mold.
For the sides I cut the bottom melamine used for the fiber optic topic and sealed the ends with polyurethane. The mold pieces are held down with silicone caulk. Brown was on sale. The knockouts are just leftover plywood coated with polyurethane.
Instead of screwing the braces into the bottom piece and sides, they are secured with caulk too.
A couple minutes later the mold is complete. I let the caulk dry and then fill the seams. After casting the concrete everything comes apart and cleans up easily.
These ends are 4 inches tall and will be held just fine with caulk. The fireplace mold was secured with caulk because I didn't want to drill into my floor. That was 12 inches tall and didn't move at all. Using this technique I can reused my mold pieces and the bottom won't have a scratch.

Friday, November 20, 2009

Sealing the Concrete Buffet Top

I have been falling behind on blog posts with our house being on a homes tour, traveling, and school. Meanwhile the concrete buffet top has been sitting and waiting in the garage. Pretty much all of the finish work has been completed so it getting old didn't impact grinding. Although at this point there isn't anything you could do other than burn up pads.
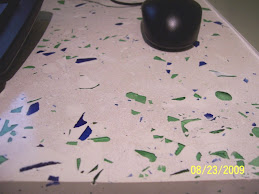
Here is a shot of the crushed Murano glass in the surface. The big pieces are all back-lit with fiber optics.
My cat Portland supervising.
I haven't found a sealing method that I really like. I have tried the Cheng sealer with wax, just wax, and acyclic. None do a good job of penetrating and bringing out the color. I like the idea and durability of traditional epoxies, but they make the concrete look like plastic. I am experimenting with a soy-based eco-friendly epoxy. It is supposed to bring on the color and not make the concrete look like plastic and be UV stable. It mixes in two parts like epoxy but is really thin. There is no odor at all, which is good for inside work.
Here is the applied product. I tried a roller and a brush. It went on a little streaky and became more uniform during drying. I am going to give it a day or so before making a verdict, although so far so good.

Thursday, October 8, 2009

Buffet Top Reveal

The stripped buffet mold. The flowable concrete produced a very smooth texture with very few bugholes, just a couple on the edge.
The fiber optics all stayed in place. I used a razor blade to cut the fibers flush with the concrete.
Now it is curing under wet plastic before grinding.

Tuesday, September 8, 2009

Fiber Optic Illuminated Concrete Bar Top Project

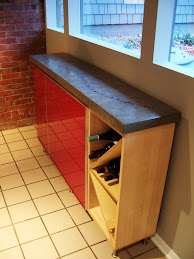
The next concrete project is underway. This is a top for a bar/buffet. The concrete will be regular grey with crushed Murano glass and fiber optics.
The mold is pretty standard construction, 3/4" melamine with caulked edges. I only had white caulk so it blends in. The dimensions are 62"x13"x2".

The shape of this piece is pretty straightforward, however I am trying a few new techniques on this one. An abstract shape was drawn on painters tape and removed. Spray glue will be used to seed the red crushed glass in this pattern. The fiber optics will be glued to the back of the crushed glass in this section so the shape will glow through the glass.
I picked up some highly recommended low VOC semi-penetrating epoxy for this top. I haven't been real happy with the sealer/wax setup and don't like the thickness of traditional epoxy. Hopefully this new type will be the answer, stay tuned.

Sunday, May 17, 2009

Fireplace Results

The fireplace surround is done. It took longer than expected because I couldn't seem to get just the right black color. The concrete itself was black then I acid stained it black again. That still wasn't as jet black as I wanted so I used a couple coats of a very strong dye. Once the dye dried I sealed it with an acrylic. Since no one will be eating off of it, hopefully, the sealing materials don't have to be food-grade.Before
After, a little taller and wider and filled in that weird gap near the wall.
One layer of tile will go around the fireplace and then a stainless steel insert and fireglass.

Monday, April 27, 2009

Fireplace Surround Progress

Here are the finishing steps and the current progress;
1. Strip the forms
2. Thick slurry coat to fill the large bug holes
3. Quick grind 50 grit through 200 grit (about 30 minutes)
4. Light slurry coat
5. Quick grind quick grind 200 grit through 400 grit (about 30 minutes)
6. Spot slurry as places that are still low
7. Finish grind at 400 grit (about 30 minutes)
8. Seal and wax
9. Lightly rub with steel wool to remove the shine
Really this project hasn't taken much time or money. The mold only took a few hours to build and get in place. The concrete was 6 bags of quikcrete at $4.50 each, 3 gallons of latex at $10 each, $10 worth of pigment, and about $10 for reinforcing steel. The concrete placement only took about 4 hours from buying the materials to setting up, placing, and clean up. The real cost was the dry grinding setup since most people are against wet grinding in their living rooms. Although if you are planning on two or more project, the speed and cleanliness of the dry setup is well worth the money.

Friday, April 24, 2009

Finishing the Concrete Fireplace

After curing under plastic and wet towels for four days the first slurry coat was applied to fill in the largest bug holes and honeycombing. A light grind will knock down any high places. A second slurry will fill in any places that still need it.
Since there isn't a good way to wet polish concrete inside, the fireplace will be dry polished. The dry polishing setup uses a low-speed grinder with hot-pressed pads and a dust shield. This method is much faster and cleaner than the wet method.
Starting on the front corner.

Monday, March 2, 2009

The Concrete Sink Reveal

The concrete sink forms were removed after 1-day. The bottom was lightly ground to ensure a flat surface.

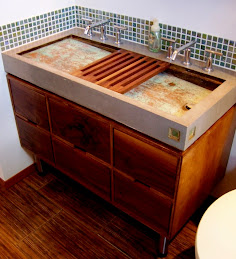
After carefully removing the forms, here is what the sink looks like. Like any new baby, fresh concrete items rarely look that good. The integral grey dye ensured the mixture had a uniform color. This sink has two faucets and a flat bottom that slopes to a single drain. The inset ledges are there for sliding removable countertop pieces. The bottom of the sink will be copper and will not get all that much finishing.
The piece in front is part of the matching backsplash. Since this was a mortar (no coarse aggregate only sand), cube samples were placed to determine the rate of strength gain.
Notice the front inside lip of sink. A portion of the concrete chipped and will require some filling. Some chipping is normal and can be easily repaired.
Individual tiles which match the shower surround were inlaid in both the backsplashes and the corner of the sink. The left side shows the blue foam used to hold the tile onto the mold. The right side shows the inlay after a little cleaning.
The sink will be covered with wet towels for 7-days to allow the concrete to cure. At 7-days the concrete is soft enough for initial grinding to reveal any aggregate. Since this mixture does not contain any aggregate it will only be lightly ground to make a smooth surface.