Showing posts with label concrete countertop sealers. Show all posts

Friday, December 19, 2014

2323 Project-Finishing Up

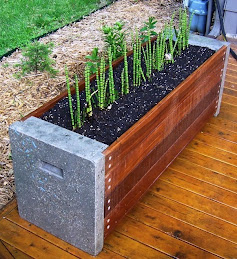
The 2323 project has completed. It involved 9 countertop sections, one shower insert, and one window box. The shower and window box were done last and were by far the most complicated.
Here's an in-process shot of gluing up the shower insert mold. Since it was one piece, the mold had to basically come out of the hardened concrete.
 
It was cold in the shop the night we placed these and it took about 4 hours longer than normal for the concrete to get to a point to trowel the backs.  
 
 One thing we know about concrete is that it shrinks. Even with all the relief cuts in the molds, these fought and fought coming out.
 
In the end everything came out just fine.
 
So on to some final shots of the installation. Kitchen with metal cabinets.


These countertops had pretty minimal finishing. They got a quick wet grind with 100 grit, slurry to fill any bug holes, then a final grind with 200 grit before sealing. I used ICT from Blue Concrete. This has been by far the best non-film forming coating I have used on countertops. These countertops have been in over a month with normal wear. Plenty of normal kitchen use means spills don't get immediately wiped up, more like dry out and get cleaned up a few days later. Nothing that has gotten spilled has made the slightest difference. I will have some more on that later. I placed a series of test samples and am going to do a round of testing for non-film forming coatings, similar to my previous sealer evaluations. 
 
That is polished/ground only to 200 grit. These got ground after curing 2 days. Normally a shine like this would take to much older and harder concrete. The nice thing is that with my new mix there is less than a week from templating to installation.  
 
The shower pieces installed.
 
 The shelves are tempered glass held in place with stainless pins.
 
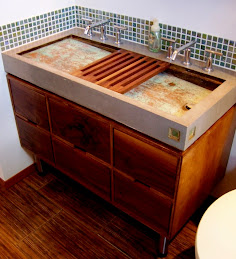
The master bath vanities are pretty simple. The platinum grey works well with the walnut and blue scheme.


Wednesday, November 5, 2014

2323 Project - Part 3 Finishing

Hey, I can see the light at the end of the tunnel on this project. Of the ten total pieces for the job, seven have been installed and three need to be placed.
If you haven't tried lithium silicate densifier, get a gallon and give it a shot. It basically increases the degree of hydration at the surface to make the concrete harder and less porous. I've used these on pavements for a number of years, but when you actually put it on by hand you can feel the concrete tightening up. I have been doing two applications at 50% strength, letting it sit for a day, and then two applications at full strength. They tend to slightly darken the surface which helps bring out the color.
 
I haven't been forming holes for faucet on these. I think it is easier to cut cut them in later. I bought a cheap diamond hole saw set at Harbor Freight for like $10 which works well enough.  

 
A few installed and the sink getting siliconed to the bottom. 

The bathroom sinks are a basin that just sits on top.

 
After applying the densifier I then have been applying a few coats of silane. I have been playing around with application techniques for the silane water proofer. This is after cutting it with some water and buffing lightly with a mild abrasive pad. 

Wednesday, October 9, 2013

That's One Big Sink

The latest Studio Build project is wrapping up and that included installing a few small, and one very big, concrete items. It seems everything but the kitchen countertops are concrete. The fireplace surround is GFRC polished through 3000 grit and coated with beeswax. The bathroom countertops were lightly ground and sealed. The big piece was an eight and a half foot long integral sink in the master bath. It is also GFRC. This is a perfect example of where GFRC is far superior to conventional mixes. If we did this conventionally it would have weighed about 500 lbs. Since we did GFRC it only weighed 240 lbs. My biceps are still sore from carrying this in, but a 50% weight and material savings makes it manageable. It's charcoal grey and was coated with the Richard James sealer kit.

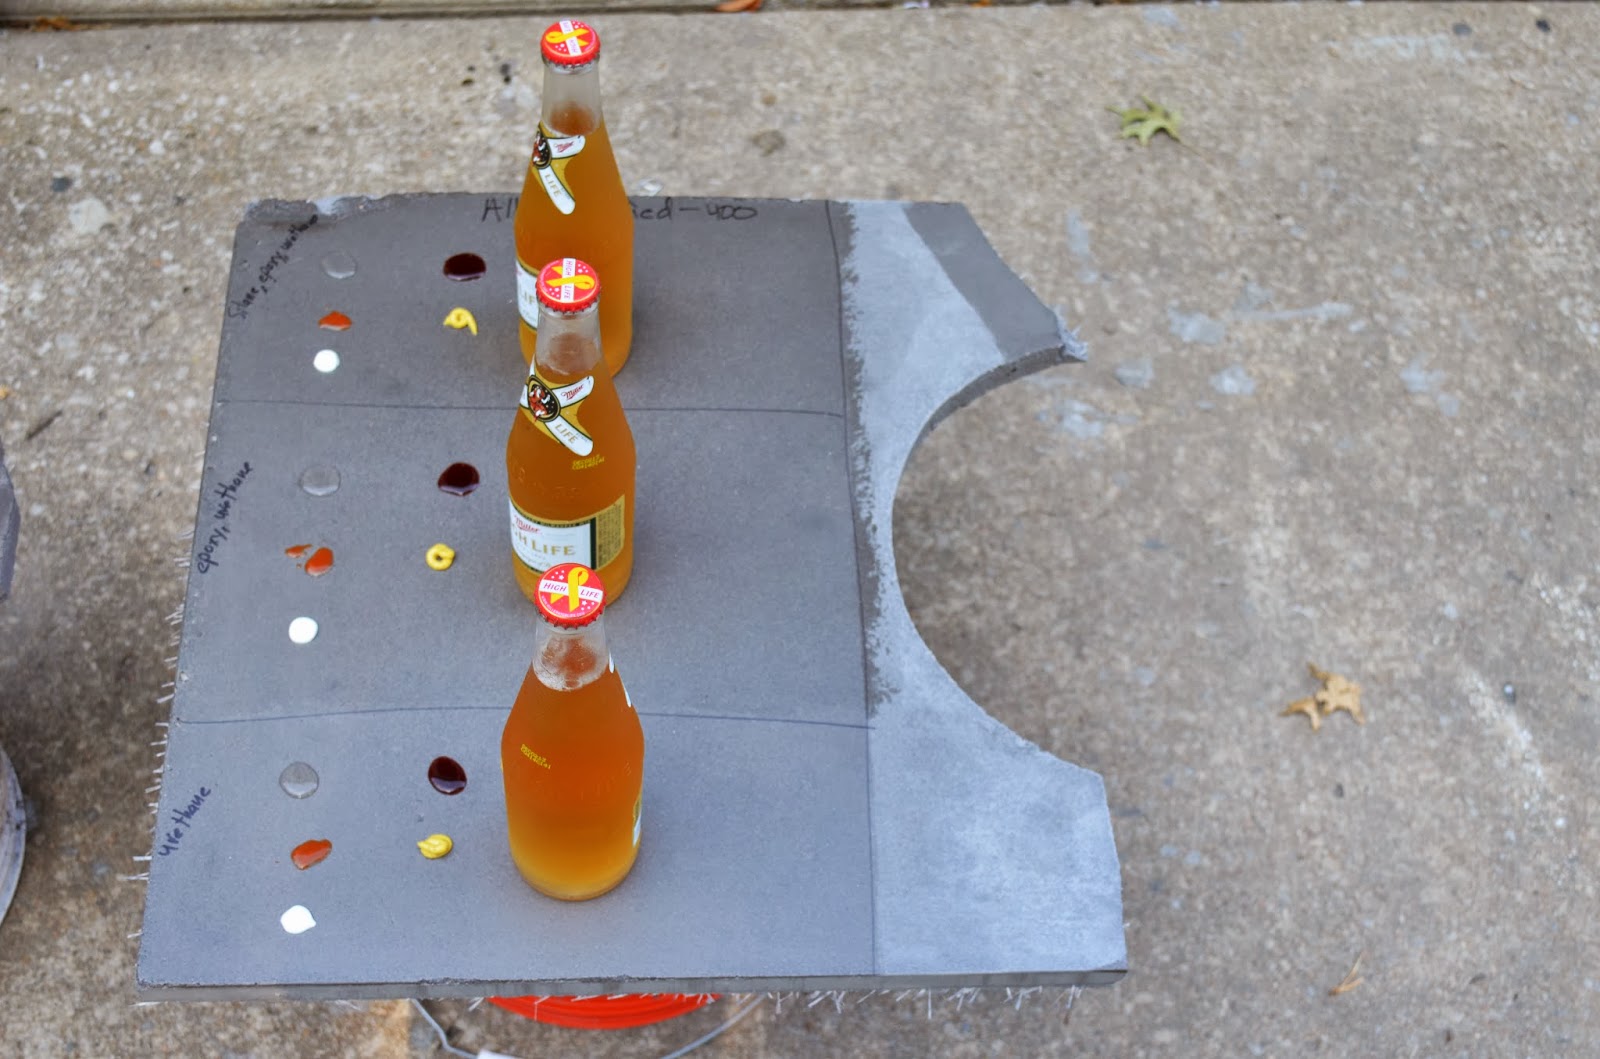
Recently I performed another sealer roundup using some scrap pieces lying around. It gives me an excuse to break out the beers on a Saturday morning. My standard test materials are vinegar, hot sauce, toothpaste, red wine, mustard, and an icy cold beer for a sweat stain. I was very impressed with the performance of the Richard James silane, epoxy, urethane combination. I normally densify the surface using a lithium silicate, which makes this a four step process. That is a lot more effort and cost than the traditional acrylic, but the results are worth it. None of these liquids had any effect on the surface. 
 
The very dark section was beeswax applied to a highly polished surface. It looks very cool and is a great color enhancer, however beeswax doesn't provide much protection against acid attack and requires constant recoating.