Tuesday, October 14, 2014

2323 Project Part 2 - Placing

Well like usual scope creep has reared it's ugly head. Well since this is my project and money I guess that is ok. This project has now gone from six pieces in the kitchen to include some vanities a shower box and an integral window box.
I've seen some guys recently cover the melamine edges with painter's tape and am giving it a try. So far it seems to help with cleanup some and probably prevents some swelling.  
 
The first two pieces were a large plain countertop and the sink section. The mix is my el-cheapo  ($5.5/sf) GFRC mix with some Cheng integral color.
 
They were stripped after 2 days and lightly wet-ground. There were only a couple bug holes and prep was very minimal. The cell phone didn't take too good of pictures of the ground texture and I will have to remember to bring the real camera along next time.
The next step for these is burnishing and sealing. When GFRC works well it is unbelievable how little work is involved after placing. 

Friday, October 3, 2014

2323 Project Part 1-Molds

The next project is underway and will be moving quickly. It's a renovation with six pieces in the kitchen and two in the master bathroom. The original steel cabinets are being reused and have been powder coated turquoise. The countertop color will be platinum grey. I've modified my low-cost Type S mortar GFRC mix to use Cheng Promix for the color and don't need any additional admixtures. I could formulate my own pigments, but for the time and project size their kits are the easiest. I always have way too much pigment leftover when I do it myself and this cuts down on long-term storage. Tests on this semi-original mix were 5000 psi at 7 days so I think we are fine.
There are four standard countertop pieces and a 36 inch deep island with a waterfall edge.

 Those stainless steel ball tools make caulking a breeze and are one of the best $1.99 I have ever spent.
 
Here's a shot of the kitchen before cabinets were set. The wall are grey, white upper cabinets, some custom walnut cabinets, and turquoise lower cabinets. The bright grey countertops will look great.
I'm using a new sealer combination on this one. The three part Richard James system worked very well on the last big sink but it is film forming. The owner on this one doesn't want that look in the kitchen. I've been working with lithium silicate densifiers for curing conventional concrete and have been very impressed. They improve overall durability and stain resistance. I'm going to combine lithium silicate with a silane to get a finish that shouldn't need much attention over time. 

Wednesday, July 30, 2014

Where Regular Utility Concrete and Finished Concrete Converge

Recently this question was posted on the blog. Assuming you haven't read everything on the blog in detail, I thought this would be a good question to reiterate some commonalities and differences between "outside" concrete and "inside" concrete.
Do you add #3 re-bar to that? I want to do this for an outdoor bbq island. Can you get a concrete pumping company to come and form it, or is that something you need to arrange ahead of time? I'm assuming you need a nice smooth finish on it so drinks don't spill.

First, the main difference between exterior and interior concrete is what is termed exposure condition. Imagine  two pieces of chalk, one inside and one outside. Which lasts longer? The inside one of course, but why? Water. Water is the primary mechanism of deterioration for concrete. It carries bad stuff in, like chlorides and sulfates. It carries good stuff out, like calcium hydroxide. It can also cause physical deterioration, think the grand canyon. And most importantly for many of us, it expands when freezing. So the biggest difference between interior and exterior concrete is the need for air entrainment in exterior concrete for freeze-thaw durability. If you are in warm areas then there isn't as much of a difference.


Secondly, on the topic of who to do it. Concrete is supplied by a ready mixed concrete producer or you can make it using bagged concrete and a rented mixer. It all depends on the volume. A normal mixer you can rent from Home Depot holds around 2 cubic feet of wet concrete . There are 27 cubic feet in a cubic yard and a concrete mixer truck holds up to 10 cubic feet. So that is 135 batches in a rented mixer. There is a significant up-charge if you are only ordering a small amount of concrete because the producer would rather have their trucks fully-utilized. A general or specialty concrete contractor would be appropriate to form the bbq island and would generally coordinate ordering the concrete if a ready mixed supplier is needed. If there is no way to get the concrete from the truck to the bbq then they may rent a concrete pump truck for a few hours. Yes, all that needs to be arranged ahead of time and probably through your contractor.
Realistically, unless you are pouring the world's biggest backyard bbq, ready mix concrete with a pump truck is not needed.
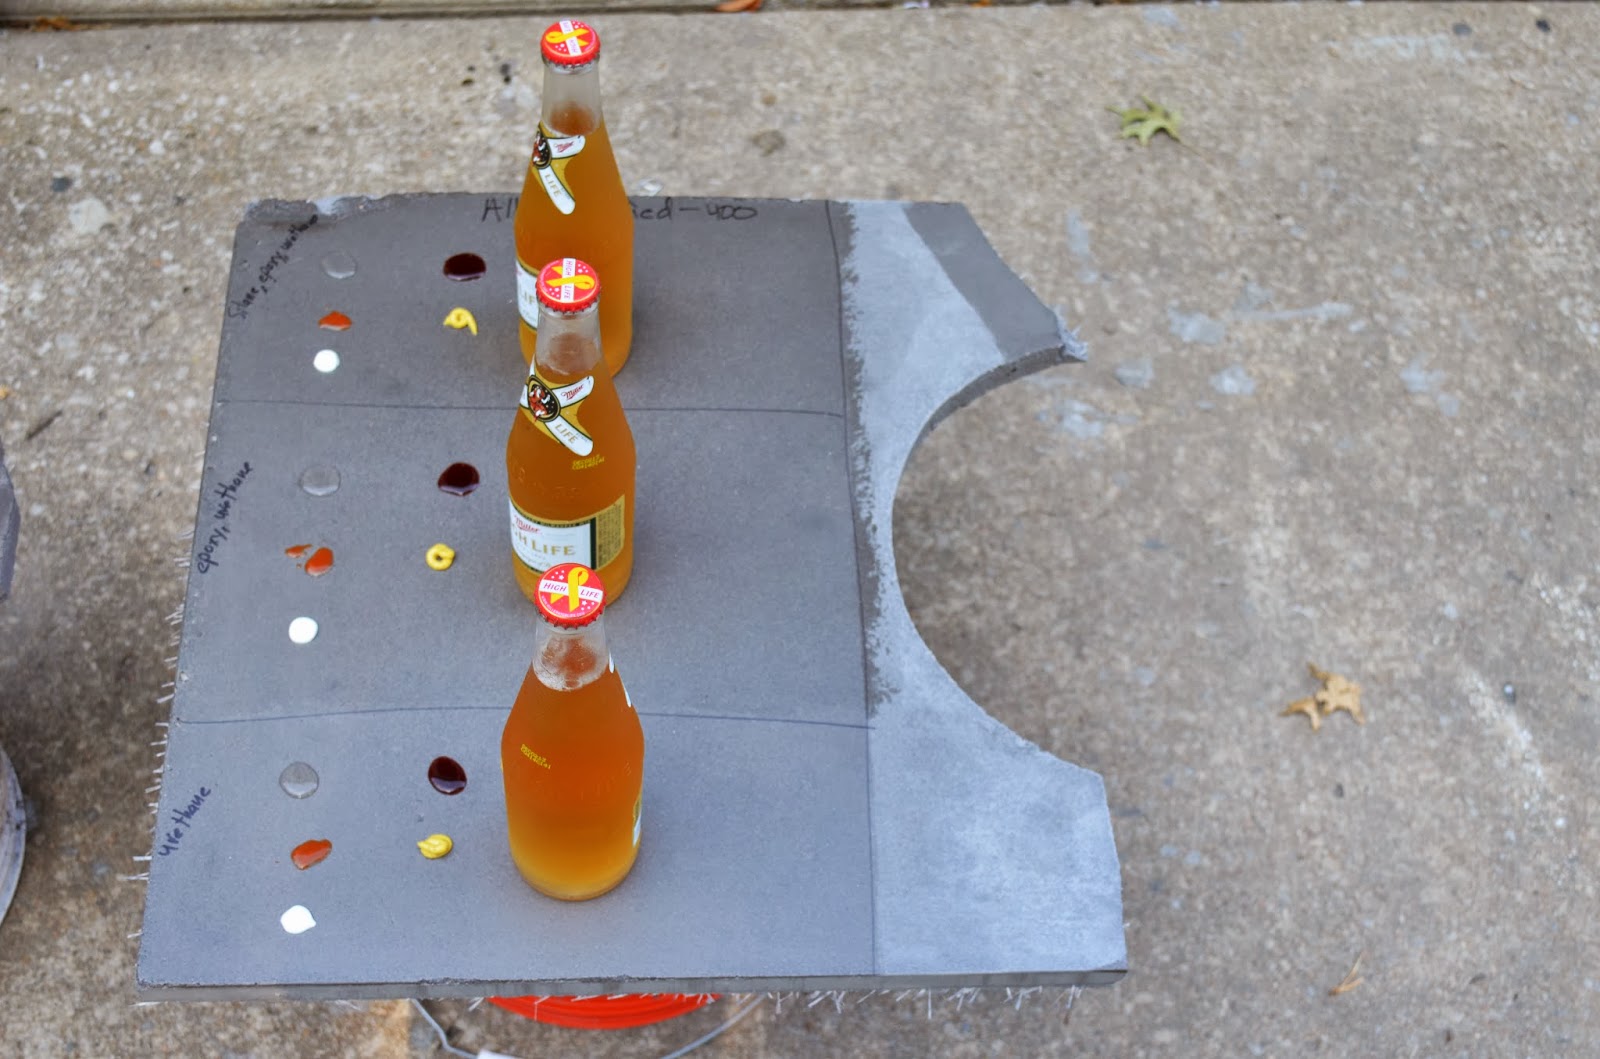
(Photo courtesy of Concrete Exchange)

 
Thirdly, the topic of reinforcement allows a short soap-box sermon. Rebar, steel reinforcement, is put in concrete to carry tensile load and minimize loss of life during extreme events. If something happens, earthquake, extreme snows, overloading, etc., our concrete structures are designed to crack which signals occupants to get out. The design codes specifically forbid over reinforcing. If too much steel is present then the occupants don't see the cracks before the building/structure falls down. So more is not better when it comes to reinforcing concrete. Also, steel doesn't do anything unless the concrete cracks. No cracks mean the steel isn't needed at the current time. That begs the question, why reinforce a bbq grill? Hopefully there isn't a concern for loss of life. Most likely the in-service loading will be very, very, very well under the capacity of the concrete. Really any reinforcement is there to hold it together on the off chance there is a crack during transportation or finishing. If that is the case do you need rebar or will something else work? With rebar you have to tie it off so it is located at a particular position in the slab. This can be a challenge for experienced contractors let alone a novice at home. I prefer to use polypropylene fibers. They are mixed into the concrete, don't corrode, and can bridge lots of little cracks at the same time. FYI, I don't use rebar in floor slabs, driveways, or parking lots. Most highways also don't use rebar either. Rebar is commonly used in structural applications, not thin slabs.

 
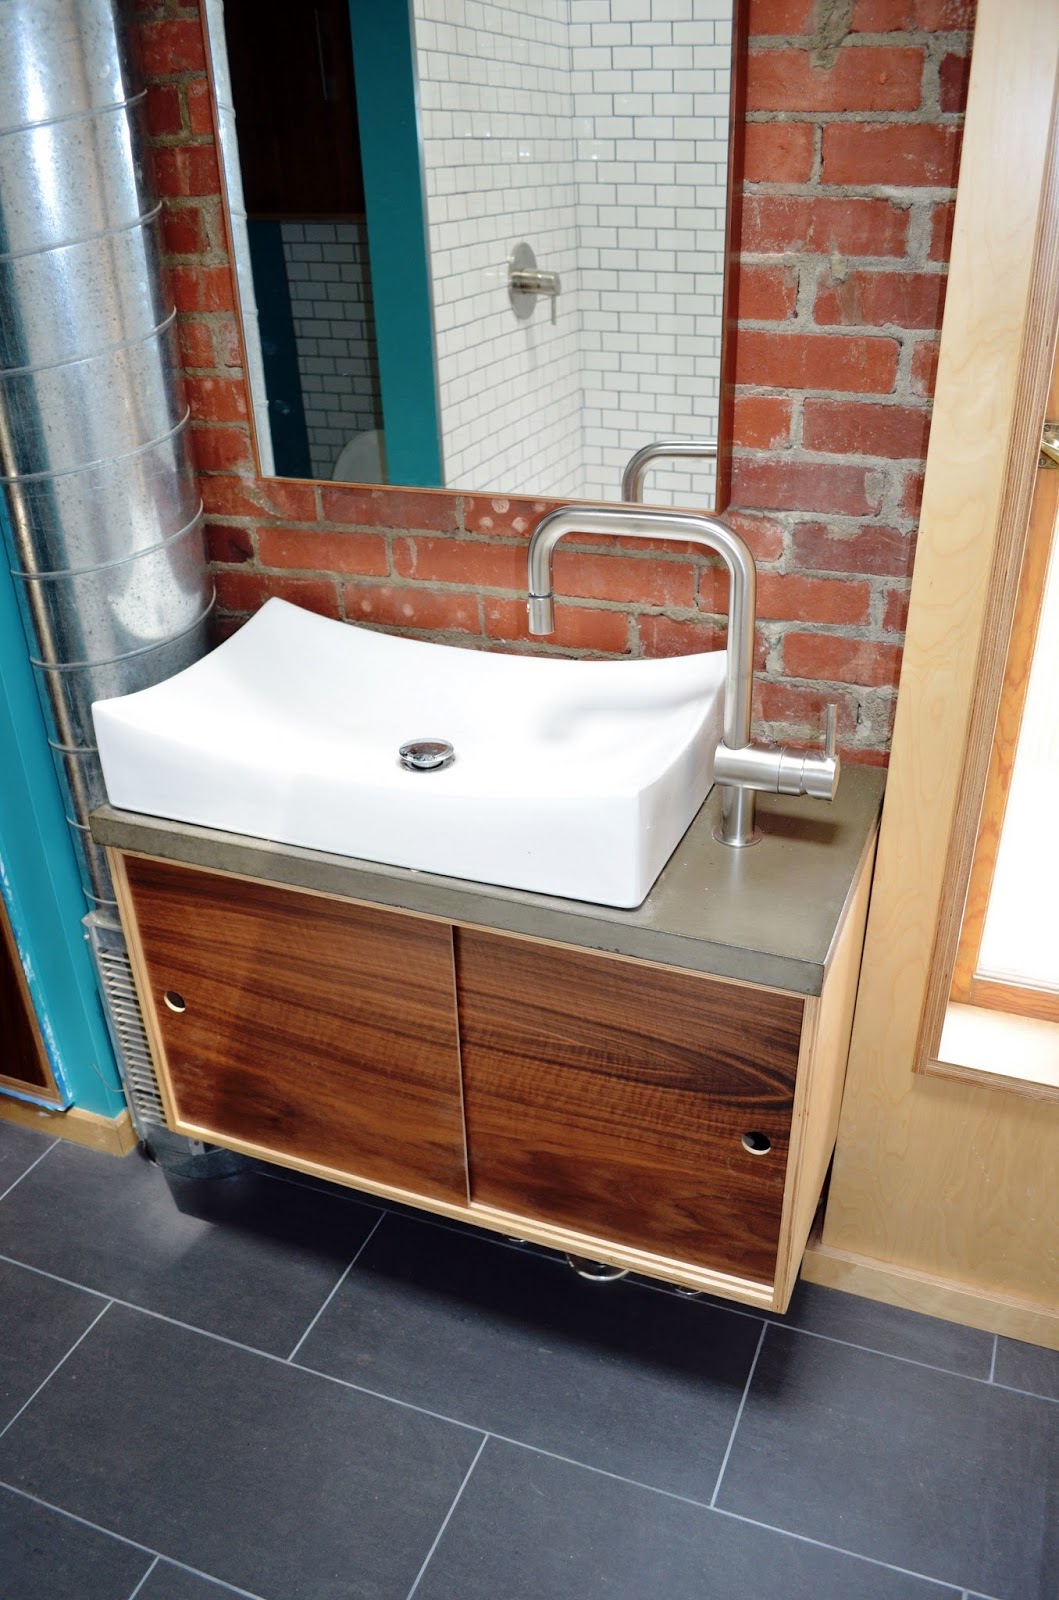
Lastly, unless you are putting concrete countertops on a boat or plane, smoothness isn't going to impact drinks spilling. However, you probably don't want a broomed finish on a bbq grill top. The smoother the concrete the easier to clean up spills. 


Hello McFly, Is Anyone Home

Yes, I'm still here. We sold our house, bought one, and are in the middle of a major renovation. In the meantime we are living in an apartment and all of the countertop making equipment is in storage. I will be placing countertops for the kitchen and will start making progress as soon as the cabinet bases are set. We are keeping the original steel cabinets and having them stripped and powder coated.
The house was built in 1950. It is an expanded shale, lightweight cmu with a 2 inch air gap to brick. That combined with some interior spray foam means we will be very energy efficient.
Have no fear, there will be plenty of future concrete projects.

Wednesday, October 9, 2013

That's One Big Sink

The latest Studio Build project is wrapping up and that included installing a few small, and one very big, concrete items. It seems everything but the kitchen countertops are concrete. The fireplace surround is GFRC polished through 3000 grit and coated with beeswax. The bathroom countertops were lightly ground and sealed. The big piece was an eight and a half foot long integral sink in the master bath. It is also GFRC. This is a perfect example of where GFRC is far superior to conventional mixes. If we did this conventionally it would have weighed about 500 lbs. Since we did GFRC it only weighed 240 lbs. My biceps are still sore from carrying this in, but a 50% weight and material savings makes it manageable. It's charcoal grey and was coated with the Richard James sealer kit.

Recently I performed another sealer roundup using some scrap pieces lying around. It gives me an excuse to break out the beers on a Saturday morning. My standard test materials are vinegar, hot sauce, toothpaste, red wine, mustard, and an icy cold beer for a sweat stain. I was very impressed with the performance of the Richard James silane, epoxy, urethane combination. I normally densify the surface using a lithium silicate, which makes this a four step process. That is a lot more effort and cost than the traditional acrylic, but the results are worth it. None of these liquids had any effect on the surface. 
 
The very dark section was beeswax applied to a highly polished surface. It looks very cool and is a great color enhancer, however beeswax doesn't provide much protection against acid attack and requires constant recoating.


Thursday, August 15, 2013

Arms Race

I have enough work coming up in the next few months that I could justify adding one more piece of equipment. I picked up a planetary grinder setup for dry grinding. The conventional grinder works but takes a long time and requires enough pressure that the thoughts of doing more than one kitchen make my arms hurt. The planetary grinder gets the job done about 5 times faster and has enough weight that all I have to do is hold on. This should pay off in time very quickly.

For a test I quickly ran up through 3000 grit on spare piece in the garage. Although you wouldn't go up to 3000 for a kitchen or bathroom, I just wanted to see how it works. This is a 30 inch by 20 inch piece and it took less than 20 minutes to work from 50 to 3000. The general surface texture is much better/more consistent than the single head unit. 
It will be a busy fall.
On-going and Up-coming Projects:
1. Concrete planters
2. Fireplace surround, bathroom vanities, bathroom sink, and bar top for a new remodel
3. Island countertop
4. Kitchen remodel

Sunday, May 19, 2013

Buffon Residence: Final Installation Photos

The Buffon residence is cleaned up for appraisal so I took the opportunity to grab some finished pictures. The entire project consisted of twelve sections which included one giant 4 ft by 12 ft island.
 
The color is dark grey with a urethane sealer.


Half bath off the kitchen.

Full bath. 

Extra panels used for the color check were cut down for the fireplace surround.