Showing posts with label GFRC Concrete Countertop Construction. Show all posts

Tuesday, October 14, 2014

2323 Project Part 2 - Placing

Well like usual scope creep has reared it's ugly head. Well since this is my project and money I guess that is ok. This project has now gone from six pieces in the kitchen to include some vanities a shower box and an integral window box.
I've seen some guys recently cover the melamine edges with painter's tape and am giving it a try. So far it seems to help with cleanup some and probably prevents some swelling.  
 
The first two pieces were a large plain countertop and the sink section. The mix is my el-cheapo  ($5.5/sf) GFRC mix with some Cheng integral color.
 
They were stripped after 2 days and lightly wet-ground. There were only a couple bug holes and prep was very minimal. The cell phone didn't take too good of pictures of the ground texture and I will have to remember to bring the real camera along next time.
The next step for these is burnishing and sealing. When GFRC works well it is unbelievable how little work is involved after placing. 

Wednesday, October 9, 2013

That's One Big Sink

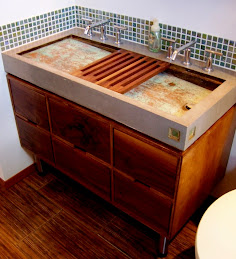
The latest Studio Build project is wrapping up and that included installing a few small, and one very big, concrete items. It seems everything but the kitchen countertops are concrete. The fireplace surround is GFRC polished through 3000 grit and coated with beeswax. The bathroom countertops were lightly ground and sealed. The big piece was an eight and a half foot long integral sink in the master bath. It is also GFRC. This is a perfect example of where GFRC is far superior to conventional mixes. If we did this conventionally it would have weighed about 500 lbs. Since we did GFRC it only weighed 240 lbs. My biceps are still sore from carrying this in, but a 50% weight and material savings makes it manageable. It's charcoal grey and was coated with the Richard James sealer kit.

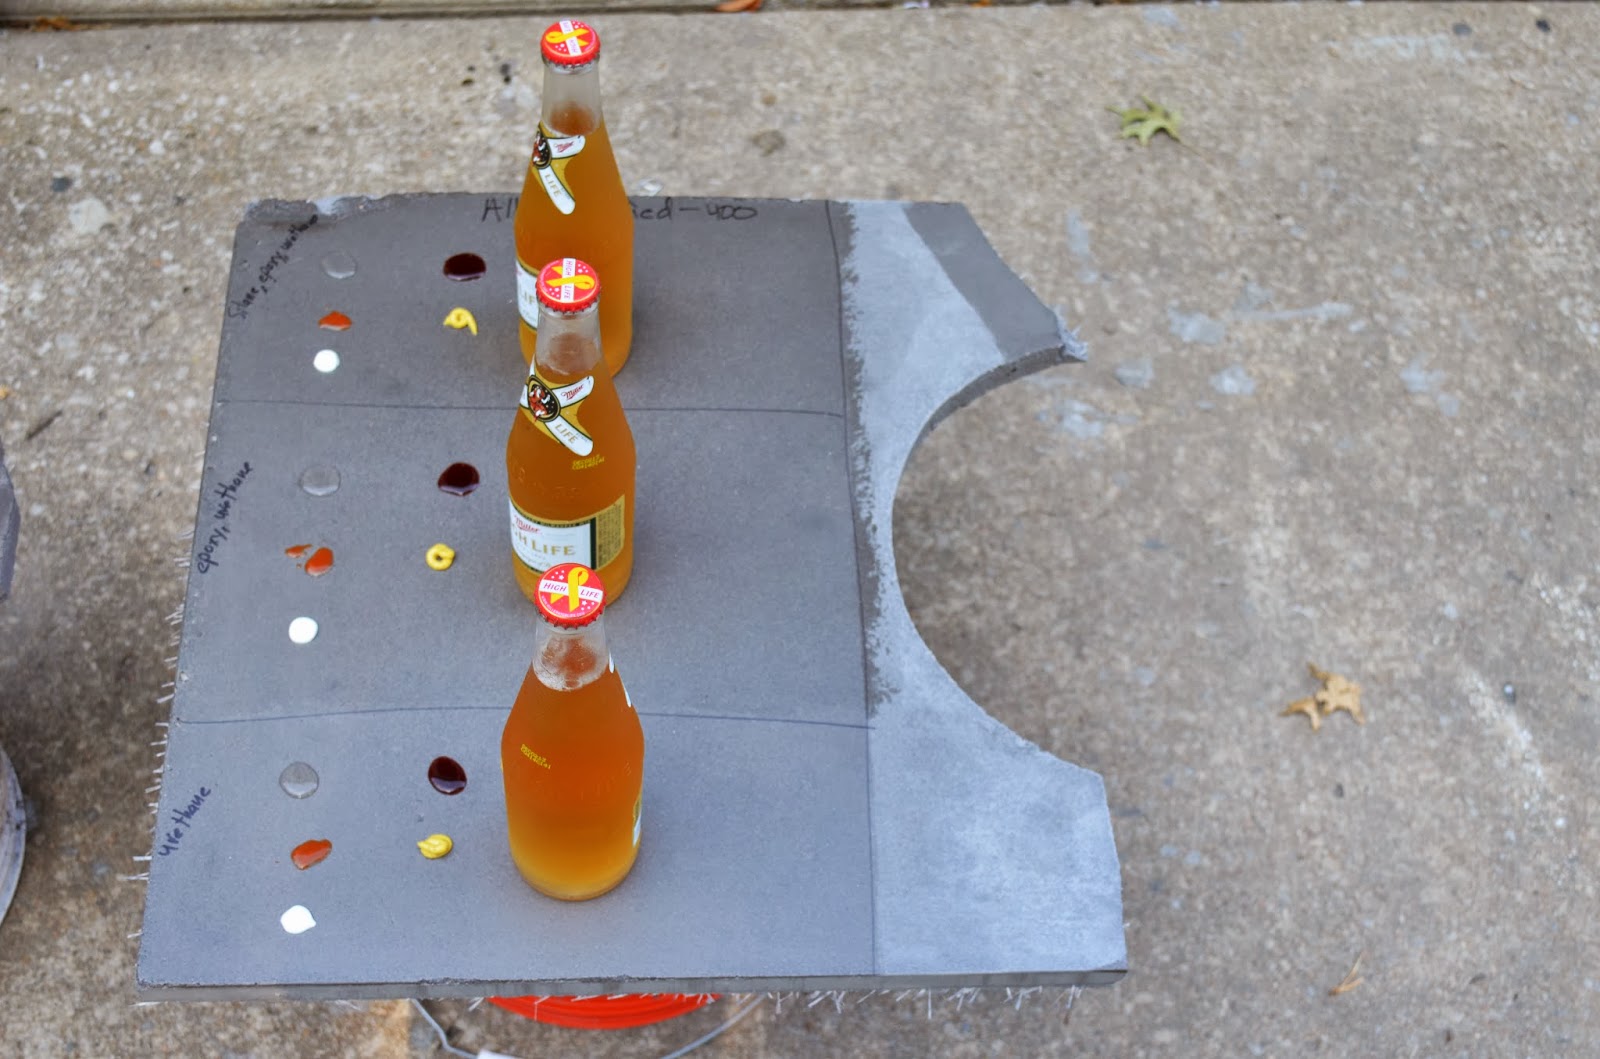
Recently I performed another sealer roundup using some scrap pieces lying around. It gives me an excuse to break out the beers on a Saturday morning. My standard test materials are vinegar, hot sauce, toothpaste, red wine, mustard, and an icy cold beer for a sweat stain. I was very impressed with the performance of the Richard James silane, epoxy, urethane combination. I normally densify the surface using a lithium silicate, which makes this a four step process. That is a lot more effort and cost than the traditional acrylic, but the results are worth it. None of these liquids had any effect on the surface. 
 
The very dark section was beeswax applied to a highly polished surface. It looks very cool and is a great color enhancer, however beeswax doesn't provide much protection against acid attack and requires constant recoating.


Thursday, November 17, 2011

First Round of Shotcrete Panels

This week I got around to shooting a couple test panels with the new shotcrete setup. Like anything it is going to take a couple versions to get things just right. Glass fiber reinforced concrete (GFRC) countertops consist of a sprayed face layer followed by a fiber reinforced backer layer. The spraying gives a very uniform texture and the fiber reinforced layer allows a much thinner and lighter section.
For the trial, first a polymer modified Type S mortar mix was sprayed on thin.

Turns out it was a little too thin. I was aiming for 1/4" but ended up with something more like 1/8" or just enough to coat the mold. Especially on the sides you can still see some white. 

Then a fiber reinforced backer mix was placed by hand. I did make enough material and this layer was pretty thin too. The panels turned out about a 1/4" thick. The goal in the future will be to get this up to about 3/4". 

I stripped one of the molds after 8 hours just to see. The garage was cool and it wasn't strong enough. Notice the hole in the lower left panel. The rest stripped just fine at 24 hours. They don't weigh anything and are pretty strong, comparatively. For a first try things went well. The corners need more attention to reduce sand build up and everything could be thicker. 

I am using these panels as an opportunity to do a head to head trial of a few different sealants. I have 12 sealants or combinations of sealants in the test. Then I am going to test for water absorption, red wine staining, mustard staining, vinegar erosion, and heat resistance using a hot bolt. The panels are pretty green yet so that test won't be until this weekend. 
A couple more trials are going to be required to get the mix and spray technique just right.