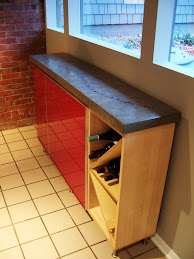
Showing posts with label Concrete sink. Show all posts

Wednesday, October 9, 2013

That's One Big Sink

The latest Studio Build project is wrapping up and that included installing a few small, and one very big, concrete items. It seems everything but the kitchen countertops are concrete. The fireplace surround is GFRC polished through 3000 grit and coated with beeswax. The bathroom countertops were lightly ground and sealed. The big piece was an eight and a half foot long integral sink in the master bath. It is also GFRC. This is a perfect example of where GFRC is far superior to conventional mixes. If we did this conventionally it would have weighed about 500 lbs. Since we did GFRC it only weighed 240 lbs. My biceps are still sore from carrying this in, but a 50% weight and material savings makes it manageable. It's charcoal grey and was coated with the Richard James sealer kit.

Recently I performed another sealer roundup using some scrap pieces lying around. It gives me an excuse to break out the beers on a Saturday morning. My standard test materials are vinegar, hot sauce, toothpaste, red wine, mustard, and an icy cold beer for a sweat stain. I was very impressed with the performance of the Richard James silane, epoxy, urethane combination. I normally densify the surface using a lithium silicate, which makes this a four step process. That is a lot more effort and cost than the traditional acrylic, but the results are worth it. None of these liquids had any effect on the surface. 
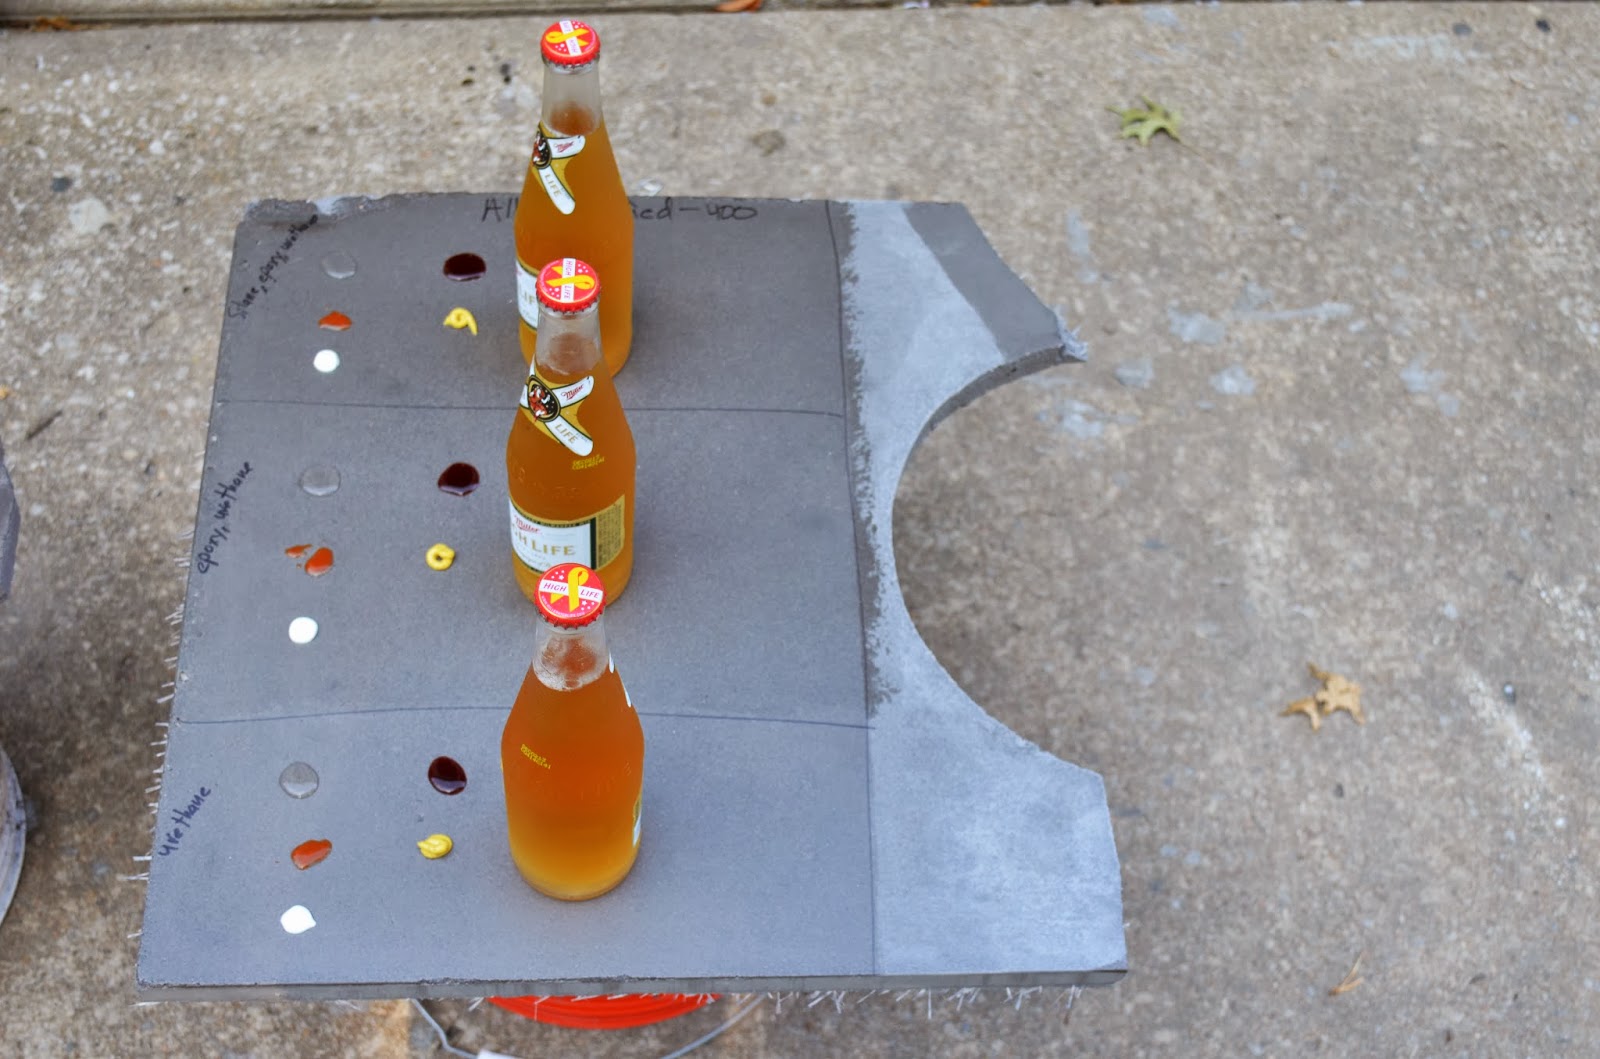
 
The very dark section was beeswax applied to a highly polished surface. It looks very cool and is a great color enhancer, however beeswax doesn't provide much protection against acid attack and requires constant recoating.


Tuesday, March 31, 2009

Finishing Up the Sink

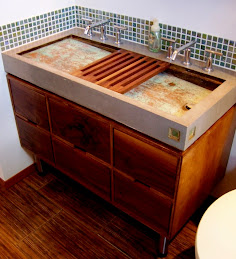
Other project have been keeping me busy so I better finish posting the pictures of the concrete sink before showing the next concrete items. After the sink was polished a semi-penetrating polymer sealer was applied to prevent unwanted stains or rings. A few coats of bees wax was applied over the sealer. This step is not really necessary and a holdover from colored concrete floors of the early 1900's that were only sealed with wax.
This picture shows the copper piece in the bottom of the sink. There was no functional reason for the copper, I just liked the look of copper patina. It is a textured copper. Since the inset and cabinet fronts will be walnut I stained the inside of the sink with walnut acid stain.
The copper patina was chemically accelerated. Although I made backsplashes to match the sink, they seemed a little heavy (visually) for the space. The backsplash ended up being tiled.
A mock-up of the removable walnut inserts.

The cabinet was notched to provide a small reveal to highlight the concrete sink.
Looking up the sink at the new backsplash.


To date the walnut inserts and cabinet fronts have not been completed. Pictures will be posted when everything is finished.

Monday, March 2, 2009

The Concrete Sink Reveal

The concrete sink forms were removed after 1-day. The bottom was lightly ground to ensure a flat surface.

After carefully removing the forms, here is what the sink looks like. Like any new baby, fresh concrete items rarely look that good. The integral grey dye ensured the mixture had a uniform color. This sink has two faucets and a flat bottom that slopes to a single drain. The inset ledges are there for sliding removable countertop pieces. The bottom of the sink will be copper and will not get all that much finishing.
The piece in front is part of the matching backsplash. Since this was a mortar (no coarse aggregate only sand), cube samples were placed to determine the rate of strength gain.
Notice the front inside lip of sink. A portion of the concrete chipped and will require some filling. Some chipping is normal and can be easily repaired.
Individual tiles which match the shower surround were inlaid in both the backsplashes and the corner of the sink. The left side shows the blue foam used to hold the tile onto the mold. The right side shows the inlay after a little cleaning.
The sink will be covered with wet towels for 7-days to allow the concrete to cure. At 7-days the concrete is soft enough for initial grinding to reveal any aggregate. Since this mixture does not contain any aggregate it will only be lightly ground to make a smooth surface.