Wednesday, October 27, 2010

Long Overdue

After finishing the patio table for our party I got busy with other things and haven't done much with concrete around the house. I have been doing lots of other concrete work, so I thought I would post some pictures. I do lots of work with pervious concrete. Pervious concrete allows the water to pass through to reduce stormwater runoff.
Last month we placed some experimental pervious concrete on campus to look at a few different mixtures and curing methods. The sidewalk was a difficult location so we ended up using a bobcat.
This pervious was self-consolidating and I finished a good portion with a mag float.
The surface before finishing.
Normally we never use a bull float on pervious, but this mixture was special.
Putting a fresh joint in with a pizza cutter.
The completed section. Some of the tests included curing under plastic and leaving some open. The infiltration was between 100-250 in./hr which is acceptable in this location.

Friday, June 4, 2010

Concrete Patio Table (Part 4. Finished)

Amongst many other projects, the concrete patio table is finished. The surface was polished up through 800 grit, sealed with an experimental colloidal silica topping, and then coated with the soy-epoxy. I don't know how the silica densifier and epoxy will play together. We will have to wait and see.
A shot of the bottom. Since nobody sees this I wanted some kind of texture when people put their hands underneath.
The concrete was cast right-side-up and the glass and embeds we seeded into the surface and troweled in.
I rubbed down the epoxy with fine steel wool before waxing. Stainless steel tapcons secured the concrete to the base.

Monday, May 17, 2010

Concrete Patio Table (Part 3. Grinding)

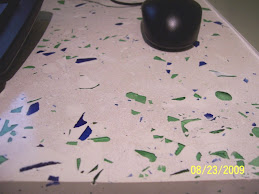
The table was demolded after 2 days. I ground the surface with a diamond cup wheel to get through all the surface paste and remove any trowel or plastic marks. White and green glass pieces were broadcast in opposite arcs across the surface.
Now that the surface is flat, it will get ground through 400 grit before filling. I will wait a couple days before flipping it over and grinding the bottom.


Saturday, May 15, 2010

Concrete Patio Table (Part 2. Placing Concrete)

After a few more cans of spray foam and sanding, the shape was pretty close. This reminds me of building the molds for concrete canoes, although on a much smaller scale. The bottom square is the 3" mounting base. Then the table underside tapers from 2 inches thick in the middle to 1 inch at the edge. Since the foam is hard to get real smooth and with a short time frame to get this done, I lined the mold with plastic. It will either 1. look cool, or 2. need a bunch of grinding to smooth the bottom side.
I cut some tile backer steel mesh to insert into the top. This won't provide any extra strength, but will help keep any cracks tight. Like most concrete designs this hopefully shouldn't do anything and is there should cracks form.
Now is that concrete green enough for you? This is a modified version of my now standard self-consolidating mortar that has been working well. This mix is a high strength 2.5:1 sand to cement mortar at a 0.4 water to cement ratio. The concrete was produced using white cement, high range water reducer, air entrainer, and both cellulose and polypropylene fibers. The green pigment was dosed at 3% by weight of cement.
I seeded some white and forest green glass into the surface and broke down and put some Cheng fossils into the surface. With all of the fibers there will be more than a little grinding and torching to get the surface smooth.

Sunday, May 9, 2010

Concrete Patio Table (Part 1.2 Mold Making)

The mold forms completed and starting to fill in the taper for the base. The first layer is cheap foam. The square bottom is the 3" base and will taper to 1" to the outer edge.
I am using spray foam to create the taper. It gets sprayed, struck off, and then sanded smooth.

Monday, May 3, 2010

Concrete Patio Table (Part 1 Mold Making)

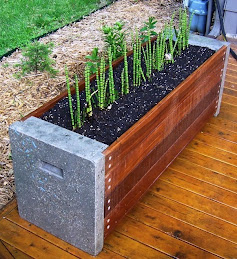
This weekend I finished the second planter and started the mold for the patio table. These had about $10 in mold materials, $10 in concrete, $30 in stainless screws, and $30 in wood. I am going to use the basic mold again to make a bench or two. Since these molds were completely assembled using silicone and no screws, they can be reused over and over.
Very cool with the horsetail reeds.
The far planter has recycled glass tiles and the near planter has white and green crushed glass.
The table will be 40" round and will taper from 3" in the middle to 1" at the edges. The base is a $4 piece of floor underlayment. The sides are strips of 1/4" fiberboard. This mold will continue the screwless theme that has been working so well. Notice on the supports I put some masking tape. It holds well and makes cleanup a breeze. Just peel off and throw away.

Sunday, March 28, 2010

Concrete Planter Project (4. Finished)

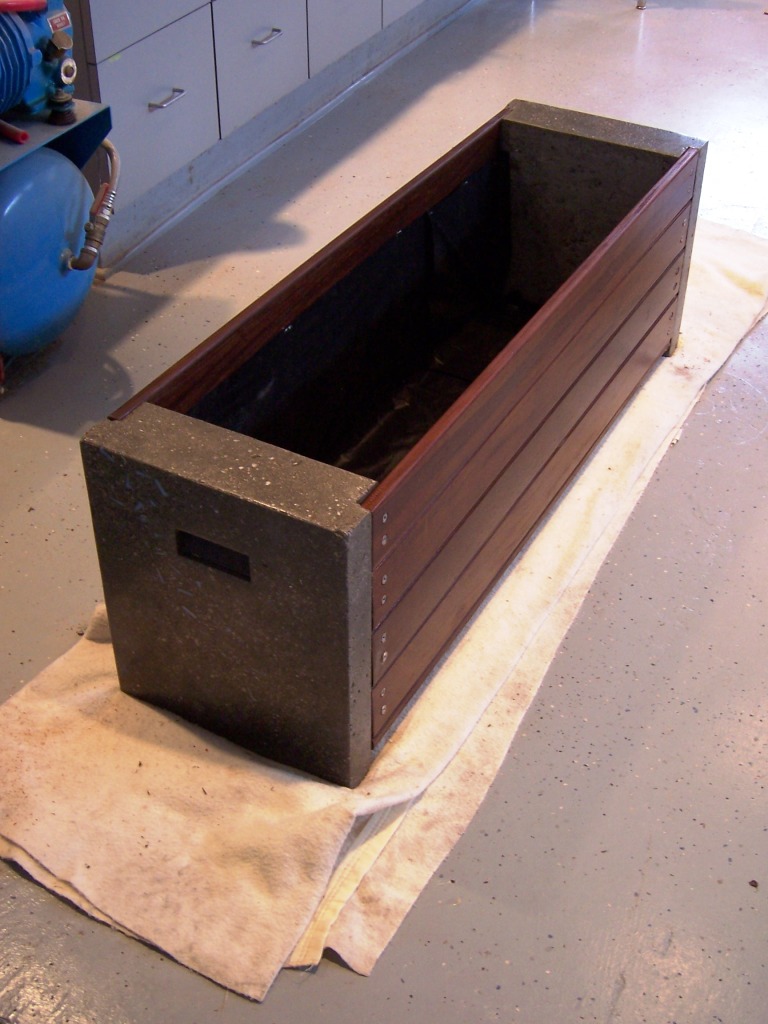
Concrete ends with recycled glass tile scraps coated with soy-based epoxy. Scrap Ipe wood middle from a local rainscreen manufacture sealed with soybean oil.
Cutout detail for mounting the wood.